

Custom Fields let you display and create any kind of data on your WordPress blog. Blogo's Custom Fields gives you the ability to create additional bits of information that can accompany your post, like the weather, what you're listening to, where you are, or even custom post types. It's pretty endless what you can do with these.
Enable Custom Fields
The first thing you will need to do is enable Custom Fields in Blogo.
1. So access the Preferences window by clicking on Blogo in the Menu Bar and selecting Preferences.
2. Select the blog you wish to add Custom Fields to.
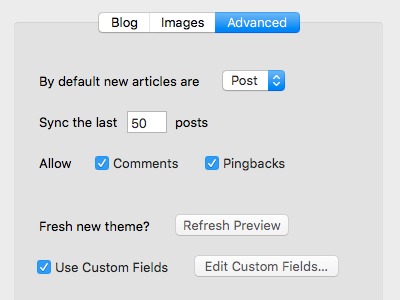
3. To the right of the Blog list, select the Advanced tab.
4. Check the box labelled "Use Custom Fields"
Here's a screenshot to help:
Editing Custom Fields
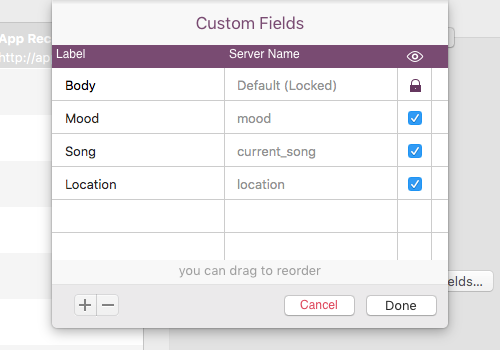
You can edit the Custom Fields that appear in your blog by selecting the "Edit Custom Fields..." button in the same way as above.
A popup will then appear with all of your current custom fields that are on your WordPress blog, and you can even add, remove, and reorder them from here!
Adding Custom Fields to a Post
Adding Custom Fields to your post is really easy once you've enabled them. They simply appear at the bottom of the Post Editor.
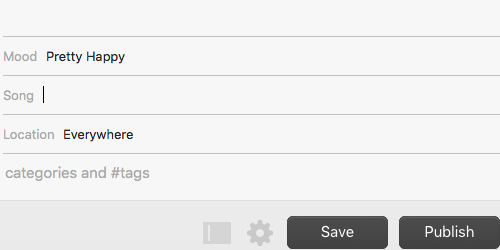
So you can add the content directly in to these boxes. Or if you want to see all the Custom Fields that you have enabled on your blog, all you have to do is click on the new Custom Field icon in the bottom right.
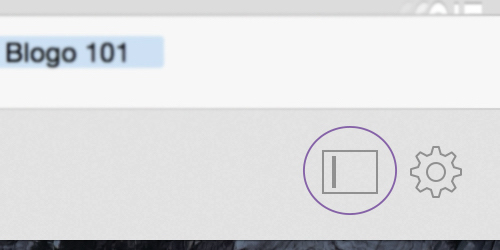
You'll then see all of your Custom Fields, even the ones that aren't visible underneath the Post Editor that you have hidden.

From there you can add content to the Custom Fields on the current post, or just click "Preferences" to jump straight into the Custom Field settings.
0 Comments